
 Embarking on a new shed project requires much thought and consideration in view of making the right decision and ensuring it will be fit for purpose in the future, after all everybody wants to do it once and do it right.
So what factors do you need to consider?
Below we have laid out eight ways you can futureproof your investment and have peace of mind that your investment is well equipped for what the future might bring.
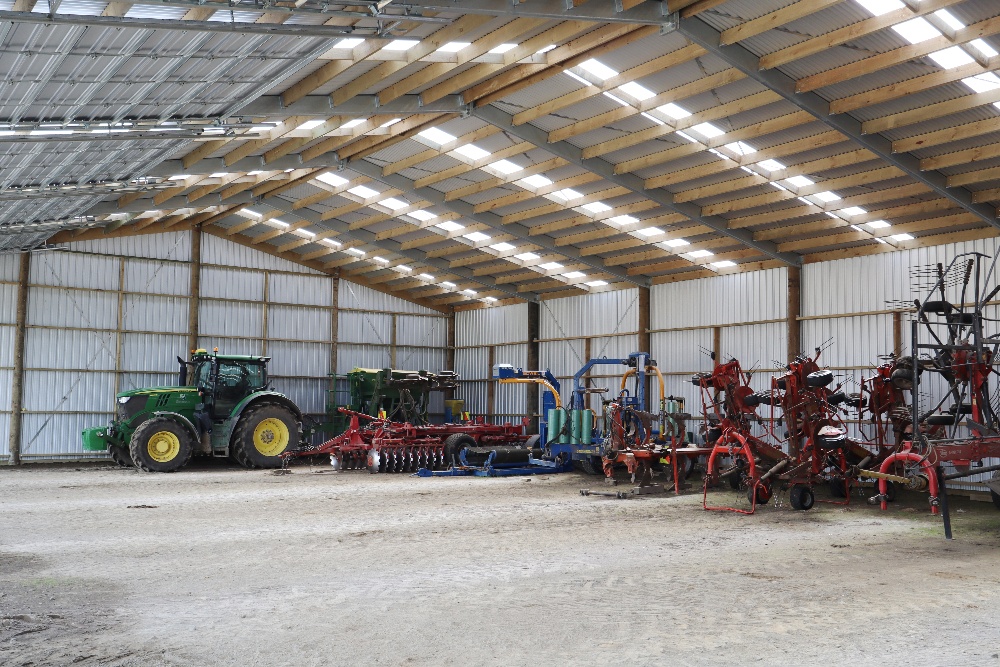
Height – What height should I build my shed?
Height is one area that can’t be changed later, so it’s worth considering what else would require additional height outside of your immediate needs.
You want to ensure your doors are high enough for future uses such as larger trucks, motorhomes, large boats, and farm implements storage. There are few vehicles that can’t get under the maximum legal road height so allowing for door clearance of this height will ensure your shed is suitable for your future growth and investment, as well as catering for future buyers.
Some other considerations are whether you want to include car hoists, mezzanine floors, or adding a lean-to on the side of the shed at a later date. These additions will also require the shed to be high enough to incorporate these options.
Adding extra height from the start will give you plenty of flexibility in the long term. Rarely do you hear of anyone saying their shed is ‘too big’ so the above considerations are some good preventative measures you can take.
Depth – What depth should I build my shed?
Although depth seems easy to calculate, it is also all too easy to misjudge the ideal depth required to function properly. By the time you park vehicles in, allow for the wall framing, a future workbench, and some room to move around, it can be surprising how much more depth is actually required.
For example, a 12m depth sounds ample for two vehicles but add a bench, shut the roller doors, and try move around inside… It all becomes abundantly clear when your knees come in contact with a protruding tow ball! You can find out more about deciding the best depth for your shed here.
It's wise to anticipate future uses for yourself but also for future buyers. Take the time to set out your vehicles as if they were in the shed. Allow a generous amount of room for workbenches and walkways. Don’t forget to allow for wall framing.
Note: Most shed designs, the measurements are taken from the outside of the shed footprint, not the actual internal clearance.
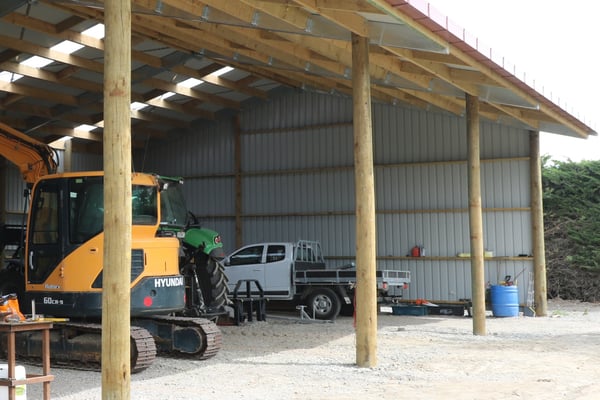
Designed for adding on more bays in the future
There are steps you can take now to make it easy for adding onto your shed in the future. It’s not always possible to build your final “shed-of-a-lifetime” all at once, but there are steps you can take when designing the initial stages to make it easy later should you intend to add on.
You can do this by incorporating a clearspan steel rafter on the end wall which enables you to remove the end wall entirely and add on more clearspan bays. This means you don’t get stuck with the original end wall supports and have to live with them being in the way if you want to add more bays, instead, you can remove them as they were designed as nonstructural components in the first place.
Doors and windows
Want to add more doors and windows in the future? This is simple, you just want to think about where the future doors will likely be now so the bracing components can be kept out of those particular areas of the shed. It is then just a case of cutting the timber wall framing and adding door studs as the structural bracing is put in other parts of the shed where it won’t get in the way of your future alterations.
How do I know the structural components will last the distance?
This is a big one, often overlooked but arguably has the largest impact on the long-term value of your shed. It is very easy to get down on detail with layout, budget, maximizing the amount of shed space for your money, then lose sight of the structural integrity of the building itself and the impact this will have long term.
While every shed option on the market needs to meet code and compliance criteria, every product has a life span and from a practical point of view, some materials last longer than others regardless of the signed paperwork and engineer’s calculations.
For example, a structural steel rafter with a wall thickness of 6-12mm thick is obviously going to outlast a thinner roll form steel beam which is typically 2-4mm thick. Practically structural steel is a lot less likely to dent, rust, and deteriorate down the track than a roll form member. This might not matter for the first 5-15 years however, it doesn’t take long for signs to appear and what initially looked like a sound investment can soon look more like a maintenance job.
With a permanent structure you only get one chance to get it right so it is critical to ensure the bones of the structure will maintain their structural integrity long term. It's easy to get fixated on price but it is well worth taking a step back and looking at the big picture for a moment.
Alpine farm sheds come with a 50-year building consent, so you can rest assured that your shed will be built to last. You can find out more about the benefits of building an Alpine Buildings’ shed here.
Wall wrap
Wall wrap is regarded as good practice as it creates a moisture barrier between the cladding and the framing as well as any potential lining out material. It also helps reflect light to provide a brighter interior, however, this is purely down to personal preference.
Due to it being behind the cladding it is obviously a lot easier to put on before the cladding is placed. A little extra forethought can save you the hassle of having to remove the cladding and reinstall it all over again.
Concrete thickness
You only get one chance to place the concrete floor, and there are some considerations to think about. Depending on what you are planning to store, will determine the thickness your floor will require.
For example, if the shed is likely to incorporate a hoist, then it is good to consider the footing requirements as hoists often need thicker concrete. If the floor is 100mm thick then chances are you will need to have thicker concrete where the hoist is placed, typically 150mm thick floor is sufficient for most general car hoists.
If you’re unsure, there is no harm in upgrading to a 150mm thick floor right through, this will cater to most uses and can handle heavier vehicles such as tractors and trucks.
Site research
When it comes to site research, you can go as far as looking at the local district plan, investigating any future developments in the area, potential zone changes that could impact your property in the future, and whether these can impact the future uses and value of your shed. Also, consider what a future buyer might value.
Doing the work in the initial phases will help you determine how future-proof your investment is going to be. The above points will help you determine the best long-term outcome for your shed, give you an understanding of where to put the extra investment now and ultimately save you money in the future by getting it right the first time.
If you need some inspiration for your next shed project, download one of our brochures here.


.png?width=800&name=Concrete%20floors%20blog%20(1).png)